
Instant Interest can be installed in standalone mode. This means that all of the files it needs are stored on the user’s machine. Standalone installations should be performed if you only anticipate having a single user of our software or in cases where the user needs to use Instant Interest detached from a network. To perform this kind of installation, you can select “Standalone Install” from the Setup Menu or you can run IIstdSetup.exe directly from the root directory of the installation package. You can view an online tutorial concerning standalone installation of Instant Interest at www.candcsoftware.com/tutorial3.htm or read the instructions below.
When you select a Standalone Installation, you may see a prompt that asks you if you want to allow the install program to make changes on your computer.
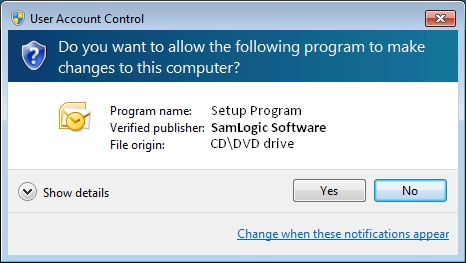
If you see this prompt, it will show the publisher as SamLogic, which is the developer of the installation software Instant Interest uses. To continue, say, “Yes” to this prompt and the installation program will start.
The first thing the installation program displays is a Welcome screen.

This screen will again remind you of the option of perform a network installation if you intend to use Instant Interest on more than one network-attached workstation.
The next panel displays the license agreement
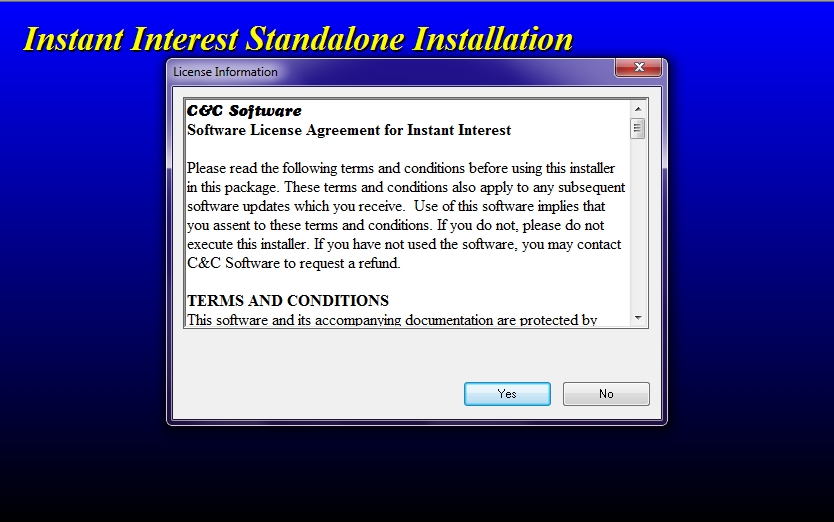
If you click “Yes” here you will be prompted for the directory to which the Instant Interest program should be installed.
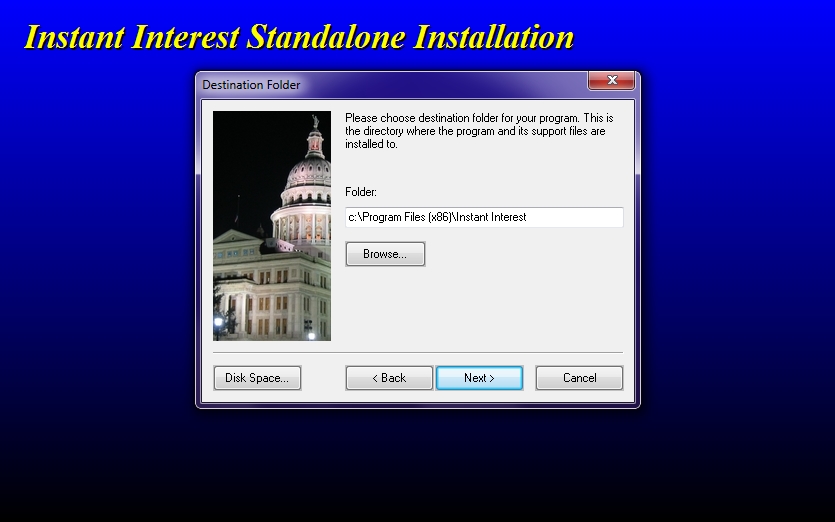
Unlike earlier versions of Instant Interest, that is really the only bit of information that the installer needs. If you click OK the next panel will prompt you to begin the installation.

You will then observe the installation program’s progress in placing the needed files on your system.

When the installation is complete, the following panel will display.
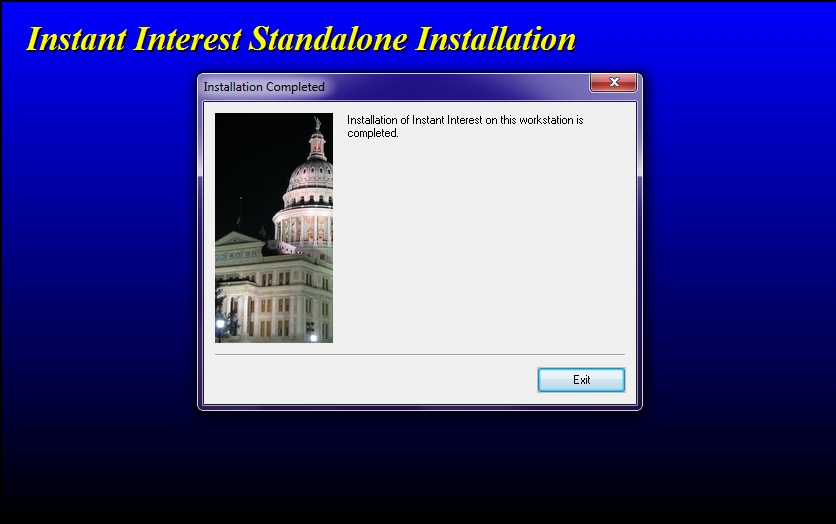
You are now ready to run Instant Interest.
Important Note
Instant Interest uses Microsoft’s .NET Framework. At the completion of the installation, the installer will check your system to insure that you have a compatible version of .NET Framework installed. If not, it will prompt you to begin .NET Framework installation. Consult Microsoft’s documentation for any questions about or issues with .NET Framework installation.